The Her Campus National Editors write about products we love and think you’ll love too. Her Campus has affiliate partnerships, so we get a share of the revenue from your purchase. All products are in stock and all prices are accurate as of publication.
Cancel your next nail appointment, because a viral TikTok trend has now made it possible for you to be your very own nail tech and get even better results than you would at the salon. Oh, and for a drugstore price? Talk about a *steal*!
Say hello to gel curing your press-on nails and goodbye to spending massive chunks of your paycheck and time at the nail salon. The nail hack first went viral over the summer when TikTok users like @yesyyada and @yodeebs shared how to make their press-on nails last longer using gel curing, a technique that’s used for Gel-X manis.
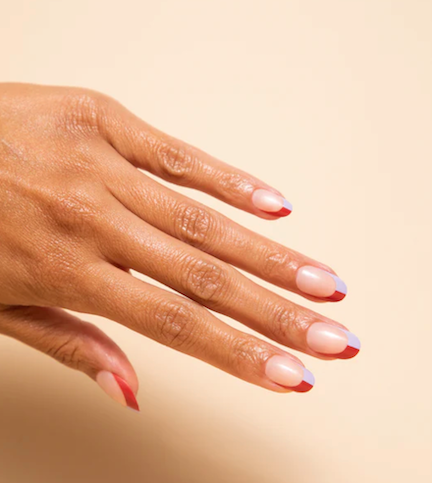
Now, the trend is re-emerging on the app, with users buying press-on nails and then gel-curing them for a manicure that lasts up to two weeks. Grab your nail file and get ready to plan out your next nail look with Her Campus’ step-by-step tutorial for gel curing press-on nails.
What you’ll need:
Bond base gel
What’s a bond base gel, you might ask? Without getting too scientific, the bond base gel essentially helps balance the pH on your nail plate and remove any surface oils. The bond base gel creates the adhesive bond between the nail plate, gel products, and press-ons without damaging the nail. Press-ons are cute, but damaging your nails is not. This is a must, bestie!
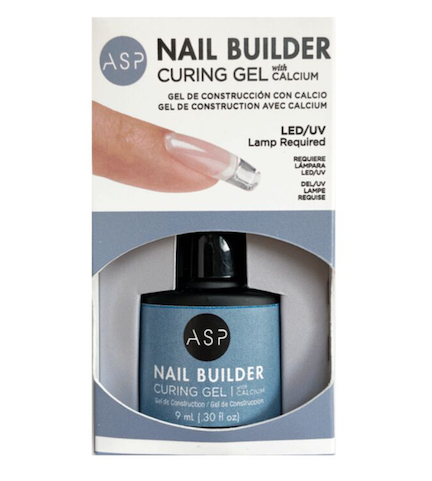
Our recommendations: ASP Nail Builder Curing Gel | IBD LED/UV Bonder
UV light
Like the bond base gel, getting a UV light is crucial to nailing this look. Gels, by definition, need a UVA exposure to polymerize. (That’s a fancy way of saying gel needs the UV light to harden.)
Depending on what UV lamp you opt for, it can get pricey. But compare that to what you’ve spent at the nail salon over the past year and you might find it’s worth the splurge.
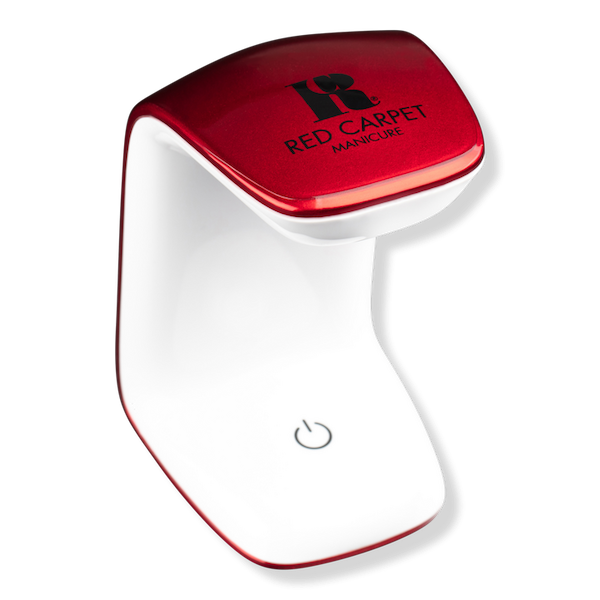
Our recommendations: Beetles Gel X Nail Tip Starter Kit II (this one actually includes a bond base gel, too!) | Red Carpet Manicure Mini Soft Gel LED Light | SUNUV Gel Nail Light
Press-on nails
The pièce de résistance. Your press-ons are where you can pull out the stops and show off your personality!
Our recommendations: Static Nails Reusable Pop-On Manicures in “Sway In White” | Chillhouse in “Split the Bill” | KISS Gel Fantasy Sculpted Nails in “Black Cherry”
Nail clipper or file
Aside from the three crucial items you’ll need to gel cure your press-ons, you’ll also need to make sure you have the basics. Have on hand whatever you’re most comfortable using to shape your own nails and your press-ons after their application.
Clear top coat (optional)
A top coat isn’t necessary, but who doesn’t love an extra shine with their fresh set?
Once you’ve got your supplies, you’re ready to get started.
How to gel cure press-on nails
- Prep your nails.
-
Use the nail clipper to trim down your length and the file to shape as you please. This is also a good time to make sure you don’t have any residual polish leftover on your nails!
- Apply your gel base-bond.
-
Take your bond base gel and paint your nail plate, as well as the back of your press-ons. Make sure to do this carefully since it can irritate your skin if you misapply.
After the bond base gel is on both your nail and your press-ons, go ahead and place your press-on nails on your actual nails.
- Cure!
-
Lastly, place your nails under the UV light for approximately one minute to cure.
Oh, and make sure to show the world (or just all your IG followers) your new killer set once you’re done.
