The first step to making your amazing vision board is deciding if you are going to do it the old-fashioned way or the digital way. Each way has its own trials and tribulations. The most recent board I have done is a vision board with craft scraps via the old-fashioned way. I used magazines, newspapers, markers, colored pencils, pens, stickers, and ribbons. You could always go to your local craft store to stock up on supplies. If you take the digital route, the website Canva will be the perfect place to go. Canva has access to thousands of photos, graphics, and icons, most of which are free to use!
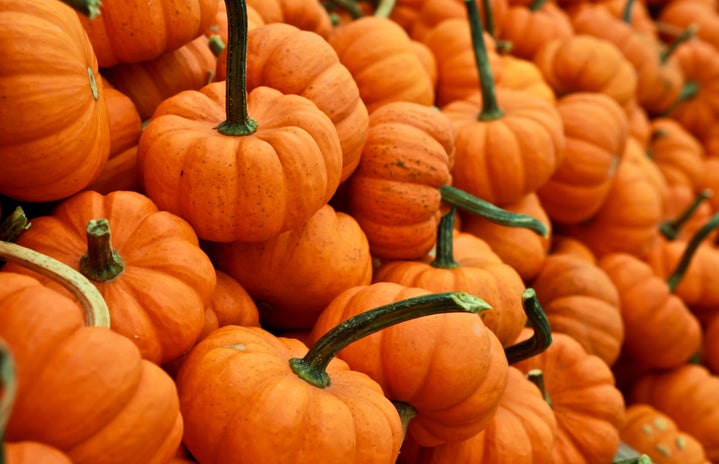
Here are some of the issues that happened when I sat down to do it. I did not have access to my themed materials. I did not make the trip to the local craft store to find autumn-themed decorations. I made do with the materials I had lying around. There will always be ease of access to find the decorations you need for a digital board. I believe the satisfaction of collecting magazine clippings, newspaper snippets, and little pumpkin stickers is a much more satisfying process than finishing one ten minutes after sitting down. Burning yourself with the glue gun and accidentally pasting your picture the wrong way gets you the true experience.
Brainstorming ideas is also a roadblock in your journey to the most aesthetically pleasing mood board possible. Apps such as Pinterest, Instagram, and even your web browser can be of help. Scrolling through articles and looking at aesthetic Pinterest pictures is perfect for brainstorming. While strolling through the craft store, you can also get a promising idea of what your autumn mood board could look like. If you take the digital route through Canva, you can simply type in whatever you are looking for: “pumpkins,” “leaves,” and “spooky” are all good starting points. Understanding your color pallet can also help to appease the aesthetic in mind. For example, our autumn-themed mood board contained mostly orange, black, and brown colors. A mood board for the spring season would have greens and pastels to fit the vibe of the season.
I found the best order to complete your old-fashioned mood board to be this:
- Gather an idea for your mood board through the web or social media.
- Collect materials for the mood board.
- Cut out and prep materials.
- Arrange materials on the piece of paper before gluing. Do not be afraid to rearrange! Always make sure you are confident before gluing!
- Add smaller details to take up space. Use markers, pencils, and pens to make additions. Smaller stickers can also come into use at this point. Add your name or title to it to give an individualized touch.
- The last step is to glue it together and finish the detailing. Adding details to the pictures themselves could give a unique flair too.
The order for the alternate route of a digital mood board is as such:
- Gather an idea for your mood board through the web or social media.
- Collect pictures, quotes, and graphics and paste them to whatever website or app you are using. (Do not be afraid to remove or replace ones you dislike!)
- Arrange them in whatever order your eyes find the most pleasing. This is for you!
- Try and take advantage of as many free options as you can. You can put together a perfect mood board without spending a dime.
- Save the mood board to your computer or phone and print it out. Tape it somewhere you can see it throughout the day to admire your work.

