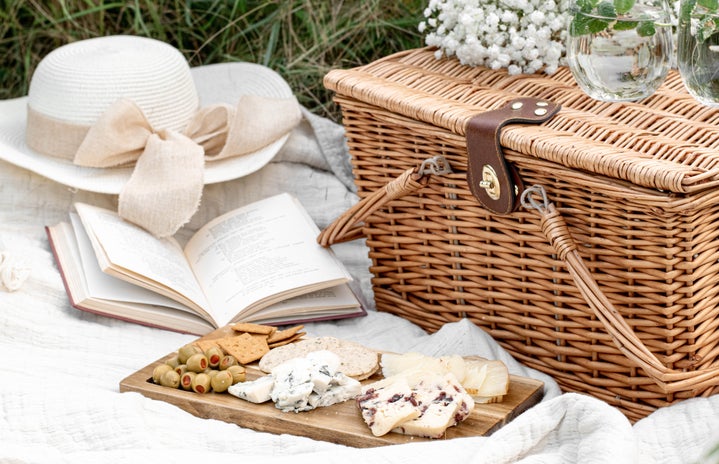
Spring has finally arrived! It’s time for the weather to start getting warmer and for the flowers to start blooming, painting a collage of bright greens, yellows, and pinks over the landscape once again. I personally love spring because there are so many outdoor activities you can partake in, which feels incredibly refreshing after being cooped up indoors for the winter months. One of my favorite activities for the springtime is planning a picnic with friends. Whether it takes place in your backyard, at home, or at a park, picnics are great for entertaining people while soaking up the sun and getting some much-needed fresh air. My go-to picnic food is a charcuterie board filled with yummy finger foods. Here are some tricks on how to elevate your charcuterie board for a picnic with friends!
the bASICS
To start, I like to fill the majority of the board with the stars of the show: the meats and cheeses. Depending on the size of the board, I try to pick out a few different kinds of cheese. Brie is really creamy and works well as a centerpiece due to its circular shape; then I like to layer hard cheeses around it for different textures and flavors, such as cheddars, gouda, and parmesan. Of course, everything is up to personal preference, and the best part about charcuterie boards is that you can make them differently each time! For meats, I like to include an assortment of salami and pepperoni. These can typically be a little pricey, but most supermarkets sell variety packs where you can get different flavors of salami in one package, which I totally recommend doing for a smaller-sized board. Crackers are also a necessity! You can use plain or flavored crackers in any shape or even small slices of bread.
Fillers (AKA The Fun Stuff!)
This is where I have the most fun with making charcuterie boards! There are so many ingredients you can use to break up the heavier meats and cheeses and fill in the extra space on the board. Nuts and dried fruits like pineapple and apricot, as well as fresh fruits like grapes, peaches, and apples, add a much-needed crunch and lightness to the board. Olives, peppers, and pickles add a nice saltiness and can be displayed on the board in little bowls to enhance the display. Honey, jams, and jellies pair really well with the cheeses and add a little sweetness. Each board will satisfy a different palate, so you can have fun choosing which cheeses pair with which fruits and jams.
The Display
Start with the board itself, which can be made out of wood, glass, plastic, etc. Then cut the cheeses into different shapes (cubes, squares, wedges) that can be assembled symmetrically or asymmetrically. You can place the meat on the board as is, or you can elevate the display by forming salami roses — just fold pieces of salami over a wide-rimmed glass until it starts to look like a rose. Next, add all the extra fillings, like the fruits and jams. I recommend using tiny bowls to hold the smaller items and condiments. Once all of the edible pieces are on the board, you can customize and add pops of color by adding flowers, pine needle clusters, wrapped chocolate candies, or fresh herbs.
Hopefully, you can use these tips to make a charcuterie board for your next picnic. I promise you won’t be disappointed with the result!
Can’t get enough of HC UMass Amherst? Be sure to follow us on Instagram, listen to us on Spotify, like us on Facebook, and read our latest Tweets!


