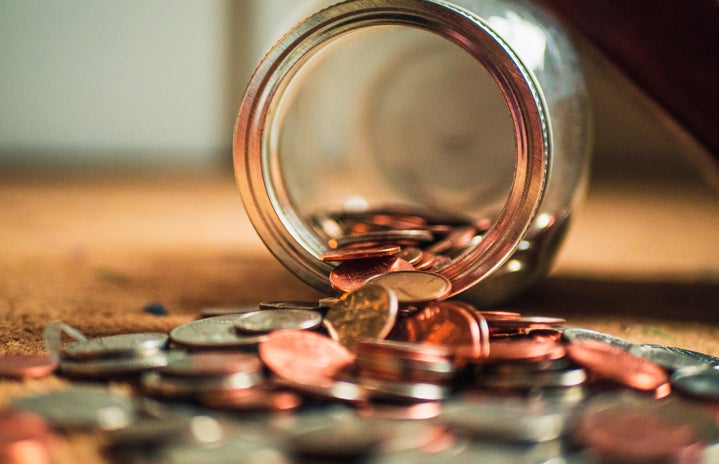
I drink large quantities of coffee, and that’s an understatement. On a campus of roughly 18,000 students, the people at Starbucks know me by name. But when you become a coffee hound, you also have to learn how to make your own, which will keep your coffee budget under control. I still treat myself to an occasional latte, but now I’m mainly my own barista. Think about it: a grande-sized latte from a specialty coffee shop runs a little over four dollars, so if you drink two coffees per day five times per week, that’s almost $165 per month! You can buy a 39 oz can of Folgers for around $7.00 at your local grocery store and you only need 2 tablespoons of grounds for a serving. At two tablespoons per ounce, you are paying a little over seven dollars (with milk and creamer) for 39 cups of coffee! Woosh…enough with the math. The point is you could save your money for that Anthropologie dress you’ve been eyeing rather than over-swiping your Starbucks card. So, grab your cup and have a seat while I share some of my crucial coffee accessories.
French Press:
Out of all of the types of coffee brewing I have tried, this is my favorite. It takes up less space than a standard coffee maker and is aesthetically pleasing. After adding grounds to the container, you add very hot water over top and ‘plunge’ the grounds to strain the coffee. Take note though: you need coarse grounds for this. If you use fine grounds, you might as well put the grounds in your mouth and then drink some water. For $13.00 on Amazon.com you can have your own French press!
Flavored syrups:
I’m not at the stage where I can drink straight black coffee yet. I’m in the young adult stage where I need flavoring. When you order a flavored coffee at a place like Starbucks, syrups like this are what go in it. Torani, among other companies, provides a plethora of syrup flavors from Gingerbread to Raspberry and even in sugar-free (my favorite). These syrups are also multi-taskers—you can add them to club soda too! World Market is where I stop for my Torani ($15.00).
The milk frother:
To have a good latte you need good foam. A handheld milk frother is easy to use. I add my 1% milk and a splash of creamer or flavored syrup, microwave for thirty seconds, then froth. The resulting froth should be warmer than body temperature but not scalding with tiny bubbles (microfoam). Those Sweedish masterminds at IKEA sell frothers for $2.00!
Here’s another good trick:
knock your milk pitcher against your counter to get the milk to separate from the foam. This way you can pour the milk into the coffee and put the foam on top. If you want to get super fancy you can make designs in the foam. Add a dash of cinnamon to the top and your guests will be thanking you a latte.
Travel mugs for under $20.00:
Make a statement with your mug. My personal weapon of choice would be monogrammed with fabric and colors you can choose like this one from Monogram Whimsy for $18.50.
Another great option is ‘I’m not a paper cup’ which looks like your average to-go coffee cup, but made from porcelain. These run between $10.00 and $16.00. If you want to show off your school spirit, Tervis Tumblers carries numerous college logos to add to your mug. If you have butterfingers, Tervis is the durable, classic way to go ($15.00). Now that’s money in the bank!
Sources:
Monogram Whimsy, Monogrammed Mug Tervis Tumbler, Collegiate Designs I’m not a paper cup, Porcelain Coffee Cup Amazon.com, Unbreakable French Press IKEA, Product milk-frother

