One beauty trend seems to prevail as of late: contouring. It’s one of those things that you sort of knew existed but never really bothered to take the time to think about. Now, you can’t scroll through your Instagram feed without seeing one flawlessly sculpted face after another.
But guess what?
You, too, can learn this! I know, you’ve probably thought it’s way too scary or that you just don’t have the time or talent to actually try this. The good news is that this is super easy and not as complicated as you’d think. Trust me, I contour every morning (it takes about 5-7 extra minutes in my morning routine) and it’s completely wearable. So, here are some steps and helpful tips to make you look flawlessly filtered IRL.
1. Texture is key.
No one knows your skin better than you do. If you have more oily skin, stick to powder. If your skin is a little more dry, feel free to work with creams. Contouring is very different than just applying foundation. You need to be a lot more precise, so it’s important to use a product that you feel comfortable working with.
2. Go for a palette.
When you’re first trying this out, the easiest thing for you to do is just go out and buy a palette. This is super helpful for a few reasons. First, you can try out a few colors and figure out which work well with your skin tone. Secondly, (this is very important!) palettes don’t have shimmer where they’re not supposed to! So, as tempting as it might be to just buy a regular bronzer to use in the hollows of your cheekbones, it will be obvious because none of the area you want to minimize should have any kind of sheen. Otherwise, you’ll just look like you dipped your face in illuminator (not a good look, trust me). Palettes usually have a variety of highlighters, too, so you can pick how much shimmer you want on your cheekbones.
3. Use the right tools.
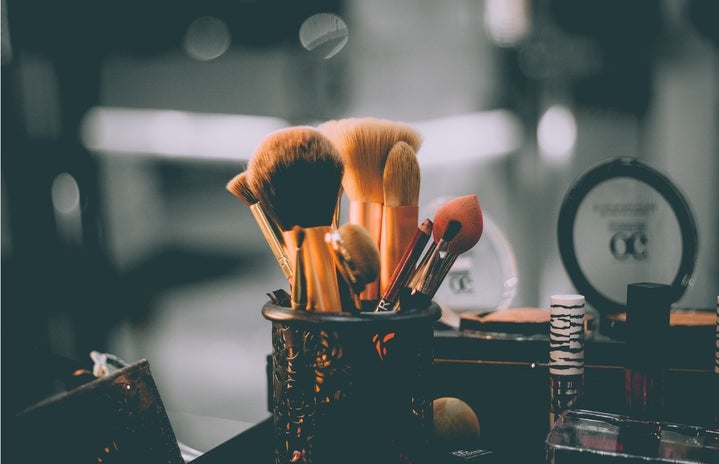
Brushes and sponges make a HUGE difference in the way your contouring will look. There’s not really one particular brush or sponge you should be using (it depends on whether you use a cream or a powder, and on the areas you choose to work with). Just remember, the tool will most definitely make a difference. Try a few out to see what works well.
4. Work with your natural features.
Contouring is not plastic surgery (thank goodness). Do not expect to step out looking like Angelina Jolie afterwards *sigh*. If you do try to contour too much, it will be obvious. Instead, just work with bringing out your natural bone structure and you won’t look like a clown. Don’t contour where you don’t have to, either. If you have a naturally thin nose or small forehead, let those areas be. Just choose the areas you want to work on most and pay attention to those.
5. Be precise
Okay, for the record, I am VERY against makeup charts…EXCEPT in the case of contouring. Generally, speaking, there is a pretty standard way of doing it. Check out this chart (my personal fave) to get a feel for the areas of your face where you might want to minimize and what areas you want to bring light to. Again, you are not, by any means, required or expected to contour each and every area of your face. Also, there are two things to keep in mind when actually going in for the contour:
-Do not, I repeat, DO NOT put illuminator beneath your cheekbones. It will look weird and people will be able to tell. You can thank me for this later.
-Blend until your face falls off (or at least until there are no visible lines).
Keeping all of this in mind, start slowly and lightly, and gradually build up when you feel comfortable.
If you follow these tips, I promise you’ll be rocking a totally wearable look. Once you get the hang of it, it really is pretty simple and quick to do. Good luck!

