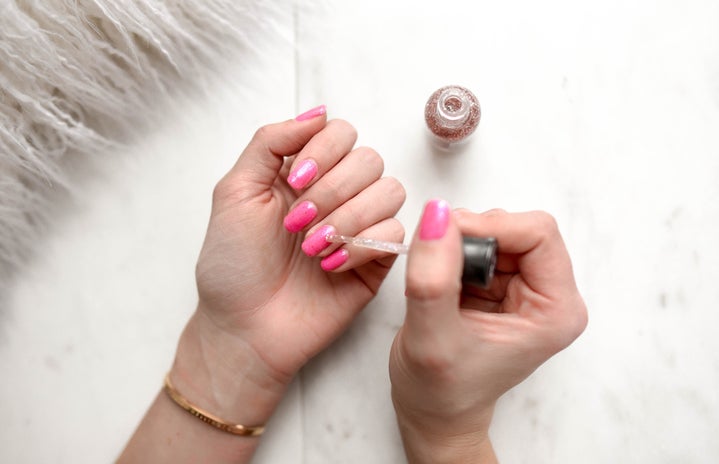
I have always been interested in looking after my nails and making them look the best they possibly can; it just makes me feel ready to tackle anything that comes my way! I’ve always done my nails myself unless it is for a very special occasion where I might splash out and get a proper manicure. Over the years I have created my own nail care routine, helping my nails look presentable and natural.
When it comes to finger nails I do very little. My nails grow quite quickly so tend to cut them every 3 / 4 weeks to prevent them from breaking. I generally know it’s time to cut them when it feels weird to type on my computer. When cutting your nails, don’t cut them too short as you don’t want to damage the nail bed. You should also try to make them all the same length so they grow at the same time. It’s important to think about nail shape too; do you want round, or square or round-square? I personally opt for the latter as I think it is the most flattering shape on my fingers. To get the perfect round-square, I place the nail clipper in the centre of the nail and cut. If there are any sharp edges I also just round them off with the clippers, but you can also use a nail file.
For general nail maintenance I do a couple of things. First, I use a buffer block, spending most of my time concentrating on the ‘shine’ side to make my nails, well, shiny! The block usually has a nail file and two gradients of buffer, but don’t over use these as it wears away the nail which makes them weaker and more susceptible to splitting which can be very painful. After my nails are prepped, I tend to paint them with either a nail ‘mask’ (I have one fromBarry M) or a nail strengthener and colour corrector (I use one from Essie). These types of varnish tend to dry clear or with a slight tint so they highlight your nails natural colouring. I love this natural look because it looks like a French Polish without the hassle!
If you want to make your nails look perfect for a special occasion (I’m thinking June 21st …), I would take a few extra steps to create the best manicure. After doing the above steps, before painting with anything it helps to soak your nails in warm water. I like to add some bubble bath to make it smell nice. Try to let your nails sit for 5 minutes. Before you dry them you want to take an orange stick and push back the cuticles around the bed of your nail. This exposes more of your nail, allowing you to show them off even more in whatever colour you choose! I would also use the orange stick to clean under your nails – this is something I also do every day. Once the skin is pushed back, I like to use a hand and nail cream and rub it into my nails before applying any polish. Let this fully soak in first. Once this is done, the painting is simple.
It is SUPER important to apply a base coat if you are using a dark colour because it will almost definitely stain your nails for a few days. I also think it helps the polish last longer. When using a colour I like to paint it on in coats because it enhances the colour and I think that also helps make them last longer. Let these coats dry fully before applying a top coat to seal it all in. This can take up to 30 minutes. Then just be super careful not to scuff or dent any of your nails!
I think having well groomed nails can make or break a look – we use our hands all the time and they are something everyone notices. Especially if they are painted with a colour. I don’t think it matters what colour you paint your nails as long as they make you happy. Going to have your nails done can be so expensive so why not try doing it yourself? And if you have friends round it’s a great activity to paint each other’s nails if you’re not comfortable painting them yourself.


