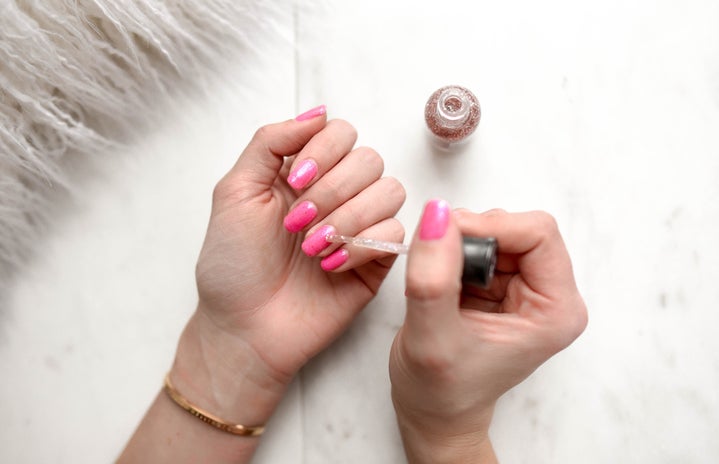
My best friend Morgan and I used to go get our nails done together all the time! We loved how nice they looked and would choose each other’s colors, talk and relax at the nail salon. This was until we realized how broke this habit left us. Morgan soon started sporting gel nails that, to my surprise, she’d done herself. I was shook at how good they looked! Of course, I had to get the inside scoop on how she did that.
Her Campus (HC): Why did you decide to do your own gel nails?
Morgan (M): I’ve always been good at doing my nails regularly, but when I started doing them in gel at the salon while I didn’t have a job, I realized that it was kind of expensive. Although, if I could do my own nails with normal polish, I felt like gel couldn’t be that much harder. That’s when I got my own kit and started doing them myself!

M: Well, I saw a TikTok about it and then I looked it up on YouTube. I soon realized that it really wasn’t that hard to do! To be honest, I feel like it’s just as easy, if not easier to do them in gel than with regular polish.
HC: So, what exactly is the process of doing gel nails?
M: First, I just do nail prep, meaning that I file them to the shape I want and push my cuticles back. You can also cut your cuticles like they do at the salon but I don’t know how to do that yet. Then, I apply the base coat and insert my hand into the UV light for thirty seconds to a minute, depending on what gel brand I’m using. They usually give you directions when you buy a color set and I do around one to two times the amount of time it tells me to do. I do that because the gel isn’t as strong as salon gel but I still want it to last as long as possible. I’m not sure if this actually makes them last longer or if that’s just me. Then, I apply the color with as many coats as needed until I’m satisfied, curing each coat individually. Finally, I apply the most important coat—the top coat! I cure it three times because I need it to be as strong as possible to protect the color underneath. After curing the top coat, I apply a little bit of nail polish remover on a cotton ball and wipe it across my nails lightly a couple of times. This gets rid of the sticky layer.
HC: What is the sticky layer?
M: I’m honestly not sure, but I know that if you don’t remove it, dust particles and lint will stick to your nail and cause it to discolor.
HC: That’s definitely something we all want to avoid. Anyway, what tips do you have for someone who’s never done their own gel nails before?
M: Be very precise with where you place the gel! Don’t go over your cuticles, onto the sides or your nail bed’s edges because that makes the gel easier to rip off.
HC: How expensive were the materials to get started?
M: Well, I got the cheapest UV light I could find on Amazon. It was $13 and it works so well! It’s called SensationNail, in case anyone wanted to know. The actual colors were around $20 for a pack of 10, but when you buy them, make sure the color set includes the top and base coat or you’ll have to pay even more. They also sell kits that have everything included, but this option is cheaper.
While following Morgan’s tips, just remember we are not nail techs, and have have only learned how to do gel nails on YouTube. If you want to do your own gel, do your own research in case we don’t do it correctly!
Want to see more HCFSU? Be sure to like us on Facebook and follow us on Instagram, Twitter, TikTok, Youtube and Pinterest!


