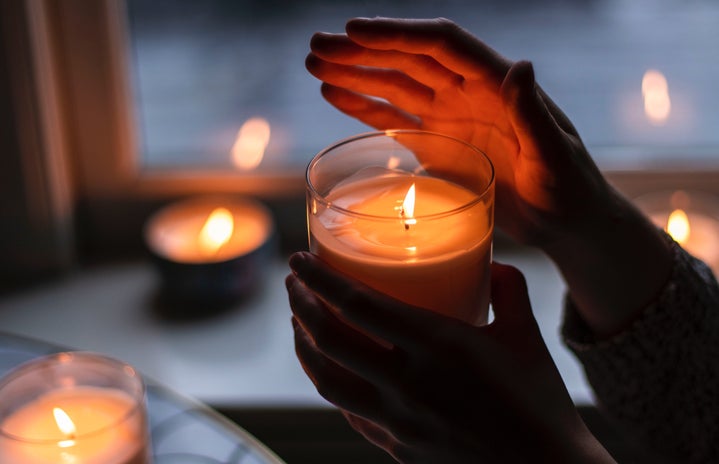
Candle lovers, Listen up
If you love candles and are looking for a project, look no further.
Recently, I was surfing the internet to buy some new candles for the colder seasons and realized that candles have become insanely expensive over the years. The big conglomerates have realized the low-cost-high-revenue reality of candle making and have started to sell $10 candles for $80+ (especially high-end brands).
So, I bought some basic supplies and attempted to make a candle myself. It’s easier than you think!

INgredients/Supplies
- Candle Wax
- Candle Wick
- Wick Sustainer Tabs
- Double Sided Sticker
- Container for Candle
supplies you may find in your kitchen
- Measuring cup (can be substituted with glass jar/ stainless bowl)
- Scale
- Utensil to stir wax (I use a table knife)
- Microwave (substitute: pot)
- Thermometer (whatever you use to cook or can dip in melted wax)
- Paper towels (substitute: cooking sheet)
- Wooden chopsticks(割り箸)
Let’s Make Candles
All supplies can be easily purchased from Amazon or AliExpress.
- Calculate amount of Wax for your container
-
First, weigh and measure the amount of candle wax you need for you container.
The type of candle wax is up to you. I prefer soy wax. I basically scoop out the solid wax two separate times using the container, so it’ll be just about the right amount when the wax is melted.

Amanna Coy - Melt wax, set wick
-
Now, melt the wax. While waiting for the wax to melt, set the wick inside the container.
If you’re using soy wax, you can melt the wax in a glass cup/jar/bowl for 2 minutes (1000W). Keep an eye on the wax so that it doesn’t fly out of the glass cup.
Set your wick and sustainer tab with a double-sided sticker so that the wick won’t float when the wax is being poured. Try to make it as centered and straight as possible. Then, use the wooden chopsticks as a clip at the top of the container, to hold the wick in place.

Amanna Coy Check the wax and stir every now and then to help the melting process. Continue microwaving until wax is completely melted.
- Pour the wax
-
Now, it’s time to pour the wax in the container.

Amanna Coy Before pouring the wax, check the temperature of the wax with a thermometer. If it’s soy wax, I like to pour the wax at about 70℃ into the container. Pour slowly.
Once the wax is poured, tap the container several times to pop air bubbles.

Amanna Coy - Wait and see
-
Now, wait. In case of soy wax, I wait for about 7 hours or overnight.
Leave your container in a temperature controlled room so the wax doesn’t shrink and create dips or holes.
Your candle is ready!

Once you’ve waited for the wax to harden, your candle is ready! Some people say it’s best to let the candle cure for several days ~ weeks however, if you’re using it for your own personal use, then it is up to you.
Now that we’ve established candle making is so simple, for any candle lovers out there, I highly recommend trying to create your own original candle.


