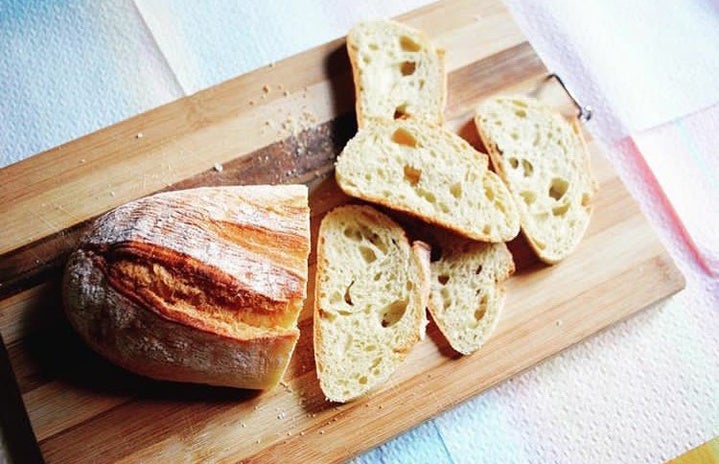
If you’re familiar with my articles or know me personally, then we are all aware how much of a home cook and baker I am. I fell in a rut for a little while as I was too busy with schoolwork, but picked it up back again with this no-knead Artisan Bread recipe from Preppy Kitchen.
This recipe is very basic, only requiring flour, yeast, salt, and water. Once it is done and out of the oven, it resembles a country loaf that you might find in a village. It’s perfect for sandwiches, repurposed as breadcrumbs or other ingredients, and of course, homemade tastes much better than the processed loaves you’d find at the supermarket.
The only special equipment you will need is a Dutch oven, which you can find on Amazon for as low as $28. A kitchen scale is also highly recommended for baking in general, as measuring in grams/ounces makes for better results (King Arthur has a whole article about it here). But if you don’t have one, just remember to level your measuring cups so you’re not adding too much or too little of an ingredient.
Happy baking!
Ingredients
3 ¾ cup bread flour or all-purpose flour divided (450 grams)
2 ¼ teaspoons instant yeast
1 ¾ teaspoons kosher salt (10 grams)
1 ½ cups warm water between 120°F and 130°F (360 grams)
Instructions
In a large mixing bowl, add flour, yeast, and salt, stirring to combine with a large wooden spoon. Stir in water until the mixture is very sticky, and no lumps of flour remain. Cover and place in a warm, draft-free area until doubled in size, about 1 ½ to 2 hours.
For an overnight rise: After mixing the dough, cover and refrigerate until doubled in size. This will take about 8 hours but will keep in the fridge up to 24 hours total. (Note: I also let it proof for up to two or three days if I have time. It gets very chewy inside and is reminiscent of sourdough bread! I prefer this method in general, as it makes it easier to shape into a ball.)
Preheat the oven to 450°F. Place a large Dutch oven with a lid in the oven for at least 30 minutes.
If baking right away, remove the dough from the refrigerator and let rest at room temperature for 15 minutes.
Using lightly floured hands, reach down one side of the dough to the bottom of the bowl, pull up, and stretch the edge of the dough over the center toward the opposite side. Turn the bowl 90 degrees and repeat the folding and turning, working in a circle around the dough until the dough starts to hold its shape, about 8 to 10 rotations. Pinch any seams together at the center of the dough ball.
Turn out the dough onto a lightly floured surface, placing it seam side down. Shape into a round loaf. Transfer the dough onto parchment paper and sprinkle it with flour. Loosely cover with plastic wrap or a tea towel for 10 minutes.
Using a sharp knife or bread lame, cut a slit about ¼-inch deep across the top of the dough. Very carefully place the dough with the parchment paper directly into the preheated Dutch oven. Cover with the lid.
Bake for 30 minutes. Remove the lid and bake until deeply golden brown, about 15 to 17 minutes more. Carefully remove the bread from the Dutch oven using the parchment paper to help, and place on a wire rack to cool for at least 20 minutes before slicing.

