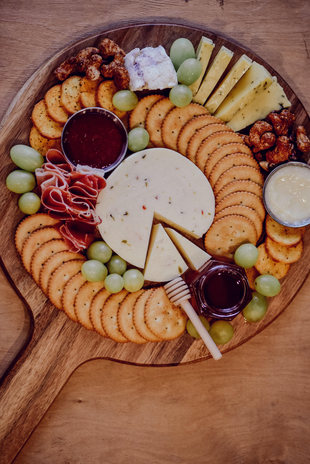
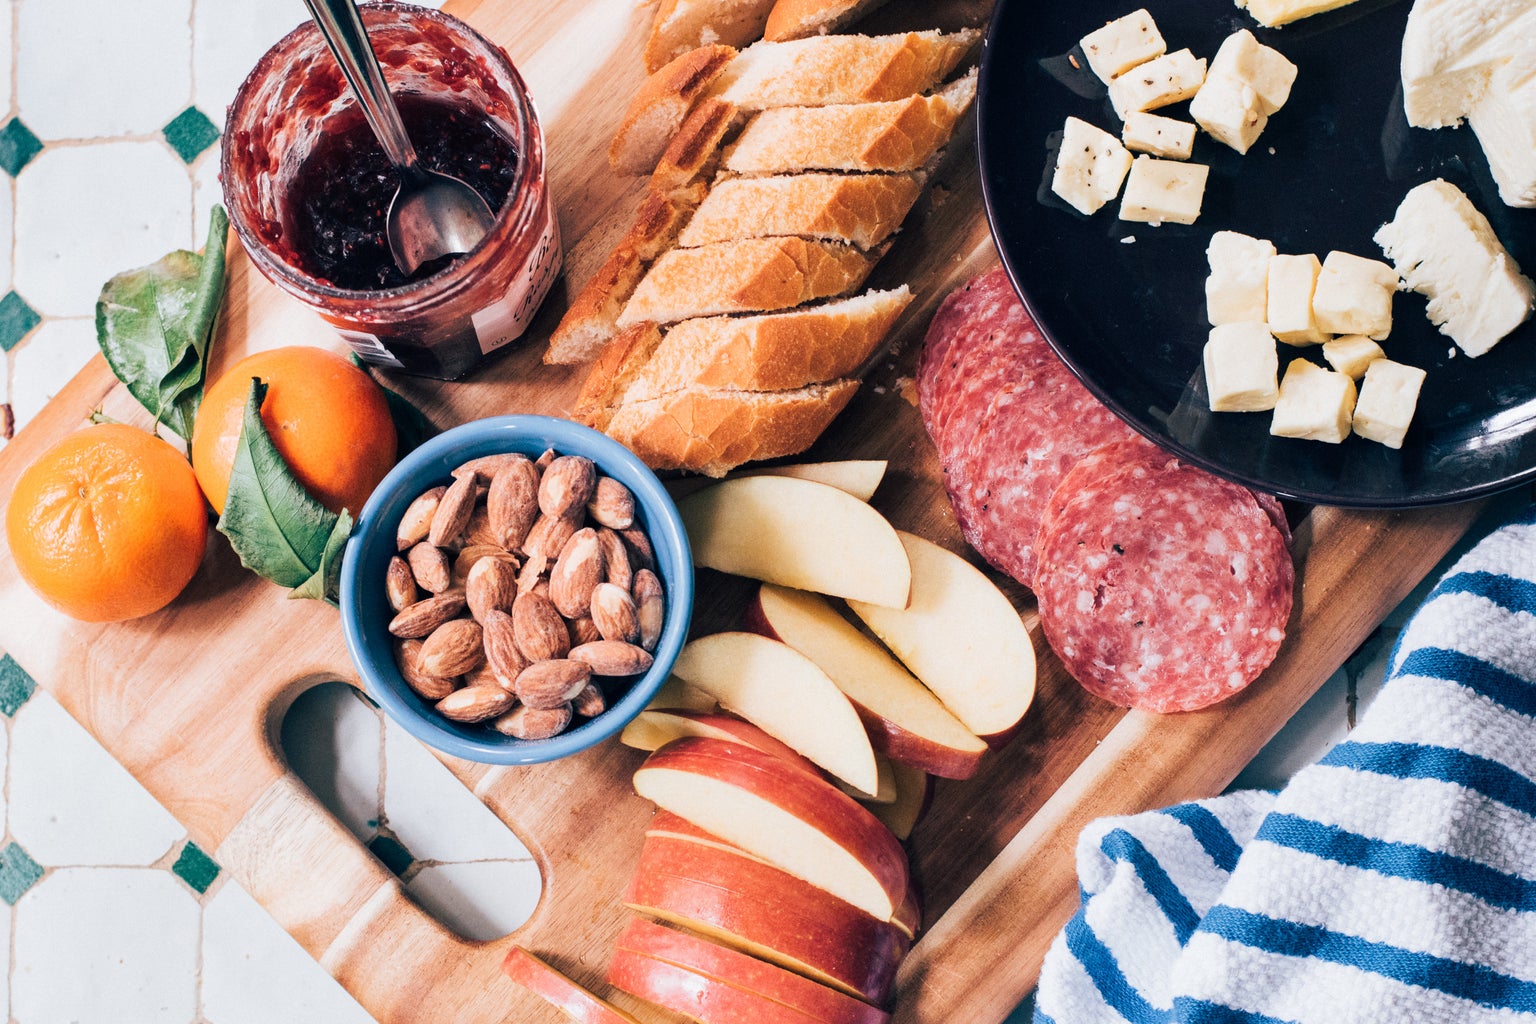
A charcuterie board is perfect for any get-together event, and with friendsgiving coming up, I think it is the perfect addition! Composed of various meats, cheeses, nuts, crackers, and fruits/vegetables, these boards are both cute and comforting. Charcuterie boards always look like two things: impressive and expensive. Every time I see one, my jaw immediately falls to the floor, and I begin fangirling over their work. However, after watching millions of TikTok tutorials, I’ve discovered they are not as hard to compose as they look. With a few tips and tricks, I will help you guys prepare what could be the easiest and most impressive dish at your upcoming events!
The first step to making the perfect charcuterie board is picking the ingredients! The goal of the boards is to create a unique experience for you or your guests taste buds, and the best way to do that is to implement lots of flavors within the chosen ingredients. Traditionally, various cheeses, meats, fruits, nuts, and crackers are used – however, these are customizable.
The meats and cheeses are the most important part of a charcuterie board, so picking the flavors from these will be the most beneficial. Some commonly chosen meats for charcuterie boards include salami, prosciutto, and bresaola. Each of those meats are full of flavor and melt in your mouth, and this allows it to be paired easily with other flavors. Also, when thinly sliced, these meats can be easily manipulated and shaped for maximum aesthetic. Some commonly chosen cheeses for charcuterie boards include brie (soft cheese), gouda (firm), and asiago (hard). These cheeses are all flavorful and work well with other varieties, like the most common meats. Cheeses are usually cut thicker, so they are harder to shape. Usually, they are cut into slices and designed on the board cut in wedges, squares, or loosely pulled chunks.
Another very important part of a charcuterie board is the starchy items! This includes various breads, crackers, and pretzels alike. These can be chosen specifically to complement the chosen meats and cheeses; however, they can also be chosen independently for dips and jams. The crackers are usually some variations of a crispy cracker (round or rectangular). They come in various flavors but are a great standalone option. A few other options outside of crackers include pretzels and pita bread!
Moving to the filler items, like fruits, chocolate, and nuts! The main point of these items is to fill the space on the board to add to the visual appeal. Popular fruit choices are grapes, orange slices, strawberries, blackberries, and blueberries; the easier it is to eat the fruit, the better. Some popular nut choices include pistachios, cashews, almonds, and pecans. One good thing about these nuts is that they all have an option for different flavors, which can come in handy for a charcuterie board. The chocolate items can range from chocolate covered nuts/pretzels to chocolate chips – it truly depends on what is available and how it will look when presented!
Surprisingly, composing a charcuterie board isn’t as complicated as it may seem. If you are including any jams or dips and plan to put them in a bowl, it is best to start with that. This allows you to build around them, rather than building on top of the other food. A good place to go next is the meats and cheeses! How you choose to style the meat and cheese plays a large role in the visual aspect of a charcuterie board. I’ve seen a lot of people fold the meat into different flowers or ribbons, but it is also common to lay the meat out without folding it at all. The cheese options are usually placed around something, whether it is meat or the bowls, which is useful in elevating the texture of the items. From what I’ve seen, crackers are mostly placed in various areas of the charcuterie boards; they could be placed in a wavy line across or in bundles in multiple areas. Finally, the fruits and nuts are placed wherever there is blank space on the board – to make it appear fuller without the board being overflowing with meat and cheese.
Charcuterie boards are always an exciting addition to hangouts, but they seem so intimidating! I hope these tips and tricks can act as a guideline for constructing the boards you arrive with this holiday season!


