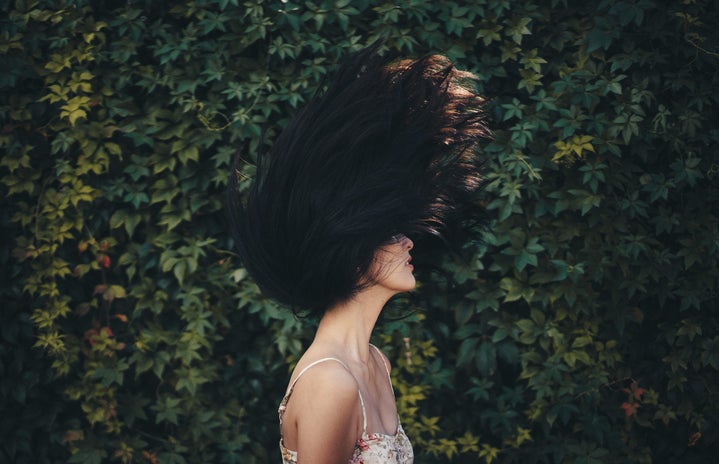
Finding an easy hair-do is like trying to find a needle in a haystack. All of those braided hair tutorials and fancy up-dos simply don’t work when we need to roll out of bed and get to class. We just don’t have enough time to figure out a waterfall braid when we ideally want to get ready in under an hour (and still eat breakfast). Beachy waves are easy, simple, and fun. Enjoy!
1. Some Things You Will Need
First of all, this demonstration is for a curling iron, not a curling wand. I’m sure beachy waves can be achieved with a wand, but I’ve found that the wand takes much more time (and you have to make sure that you don’t burn yourself). So, get yourself a good curling iron. It can be any brand. I use a Hot Tools gold curling iron, which costs $40.00. Get whatever size you like that fits your hair type. If you have really long, thick hair, I actually would recommend a bigger barrel size to accommodate for how long the hair may be. Mine is on the smaller end (3/4 inch – 1 inch).
Next, you will need heat protectant. This is really important if you decide to do this look daily or a few times a week. We all want healthy hair and I can promise you that clamping a hot iron on healthy hair everyday will make it unhealthy pretty quickly. I use Catwalk heat protection spray which I was lucky enough to find at Marshalls for $4.00. Do some research and get the best one you can find. Trust me, it’s worth the money. Healthy hair is pretty hair!
Last, I recommend a hair texturizer. Beachy waves aren’t perfect. In reality, hair would be tousled and rough right after a dip in the ocean. So, we have to rough it up a bit. I use Aveda Light Elements which runs for about $24.00. If you’re looking for a cheaper option, try L’Oreal Advanced Hairstyle TXT IT Tousle Wave Spray which is $6.50 on Amazon. This will help our hair look less…perfect (in the perfect way).
2. Lets get started!
Hi, just me with my selfie stick and self-timer. Make sure your hair is brushed or combed to your liking (if your hair tends to frizz, you might want to comb it). I curl my hair in sections which you will see in later pictures. I have found that it takes much less time to do your hair in sections. For sections, split your hair in two and put one side into a low pig-tail. The other side will be loose hair. As you go around, clip up the pieces that you have already done.
Make sure your heat protectant has been applied (I mostly spray my ends) and that it is combed through thoroughly. If there is a way to adjust temperature on your iron, make sure it isn’t on the hottest option unless one: your hair is thick and long, and two: it’s not the best iron in the world. The hotter it is, the tighter the curls and the less natural and “beachy” it will look. If your iron does not have temperature control and it happens to get really hot, just go with it. At the end, comb out your curls and they should relax. If your hair is naturally really curly, this will take you more time. You will have to straighten your hair first and then curl. My suggestion for curly-haired girls would be to wash your hair one night and then straighten it in the morning. Then wait until the following day to curl your straight hair.
3. Curling Away From the Face
It is important for the hair around the face to be curled away from the face. You can tell if you are curling away from the direction of the clamp. The clamp is facing the ceiling in this picture, so your wrist will have to turn away from you.
4. Pull Ends Straight
Turn your iron away from you about two times (or enough that there is still some hair at the end of the clamp). Then pull down straight with the clamp still on. This will create straight ends, but a curled top strand. This piece should relax. Continue around your hair in sections and make sure to clip up the pieces you have already completed.
(This is my concentrating face)
5. Some Extra Tips I Learned
If you want to make this look more natural, you can alternate between curling away and towards your face. When you get to the section by your ears, it looks more natural to curl towards your face. This time, the clamp is facing the ground and pull the ends straight again. Your wrist will turn towards your face. This makes it look more natural, but it’s not necessary. Sometimes, I just grab a big piece in the back to make sure I get that difficult piece (because I have short hair).
6. Finish Your Look
Yay! We are done. If the waves seem to be more like curls, make sure to comb them through (do not brush). Add your texturizer and gently scrunch up your hair, flip it over, shake it out. Curl a few random strands of hair around your fingers to soften the roughness that was just caused around your face. The look is complete!
Now, I know this was a lot to read, but when you get good at this it goes quickly. I was running late for work when I took these pictures. I started at 8:52 a.m. and I was completely finished by 9:01 a.m. (and, late for work). But, honestly, if you give yourself the time to do this, it is worth it. It shouldn’t take longer than 15 minutes at the most. Practice makes perfect. Have fun with your perfect, beachy waves!

