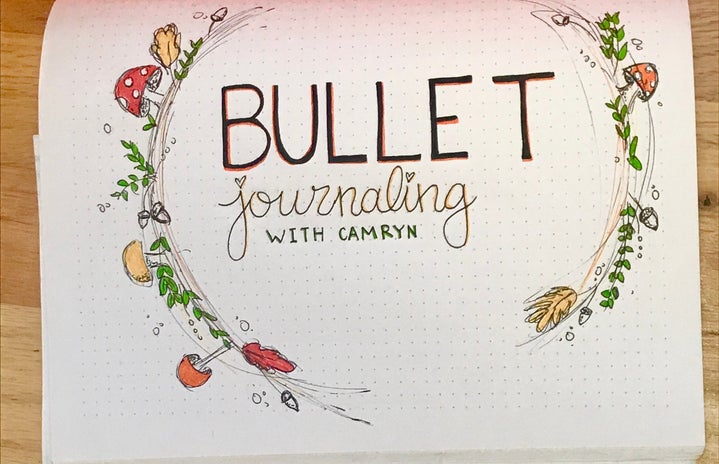
Bust out your favorite glitter gel pens and notebooks because it’s time to one-up your organization skills! If you’re the type of person who loves color coding, rearranging, and writing everything down, I invite you into the world of bullet journaling.
Bullet journals are a personalized notebook that you design to fit your needs. It’s a one-stop-shop for writing down assignments, your calendar, habit trackers, budgeting plans, and more. Every journal is unique, so don’t worry too much about how minimalistic or detailed your aesthetic is. Your goal is to design a journal that maximizes your organization!

Step 1: Find a Journal
The best notebook for bullet journals is dot grid journals. You can find these at crafts stores or order one online. These are ideal because they’re great for alignment without having pesky lines in the way. If a dot grid notebook isn’t accessible for you, my next recommendation would be a plain blank sheet notebook and a ruler. Of course, you’re more than welcome to use lined or grid paper, but your pages will be easiest to read and use if you have dot grid paper.
Step 2: Pick Aesthetic and Gather Your Supplies
You can go as simple as using only a black pen to design your notebook, or you can gather your favorite washi tapes, markers, pens, glitter, and whatever else you want. Are you looking for something colorful? Do you want to add lots of embellishments? Do you want something quick and easy?
Having trouble picking a design? Browse Pinterest! Here are some key searches to get you started: “bullet journal”, “bullet journal page layouts”, “bullet journal trackers”, “bullet journal themes”, “bullet journal page ideas”.

Step 3: Plan Out Your Pages
In my opinion, bullet journals are most effective when broken down into monthly or weekly plans. What are your goals for this month? Are you budgeting or saving for something specific? Do you want to keep track of your workouts? Are you trying to track your moods? You can create a page for anything in your journal!
My recommendation is starting with a pencil before you make any page concrete with a pen. That way you can change your design if needed! Also, rulers should be your best friend, especially if you can’t draw a straight line to save your life.
Here are some monthly page ideas:
- A calendar overview
- To-do lists
- Birthdays
- Workout trackers
- Food and water log
- Self-care logs
- Gratitude lists
- Assignment tracker
- Savings log
- Brain dump
- Any sort of list imaginable!
You can also create a section in your journal for long term trackers:
- Password logs
- Future business ideas
- Lists of favorite things
- Occasional cleaning log for things such as washing the windows or mattress flipping
- Favorite recipes
- Semester schedules

Step 4: Decorate to your heart’s desire
Add as many embellishments and colors as you’d like. This is your chance to get creative with your pages. I love changing my designs each month.
Step 5: Enjoy!
Now that you’ve set up your journal, keep it in an easy to reach space so you can log your progress every day. Congratulations on achieving a new level of organization!
Happy journaling,
Camryn


