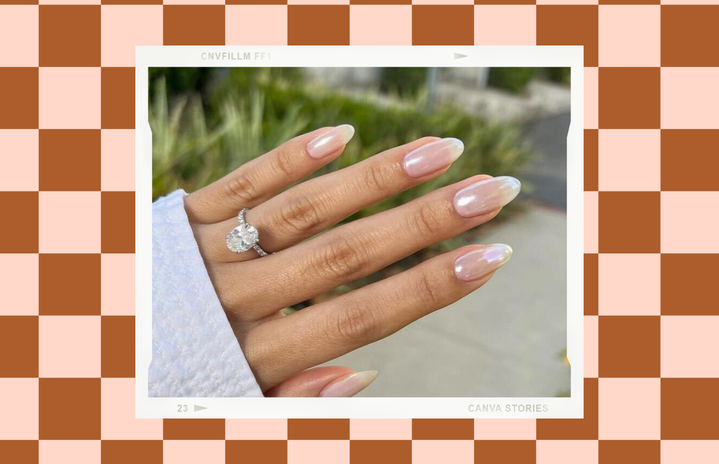
Ever since elementary school, I have been absolutely infatuated with the process of doing my own nails.
Of course, it started with regular polish, then gel, then dip and even dabbling into the world of acrylics.
I have worked on perfecting my nail routines since high school, and it wasn’t until college that I can finally say I got it down pretty darn good.
This is a process that has saved me thousands of dollars, as well as allowed me to practice fine skills and therapy unlike anything else.
Here is my guide to the perfect gel manicure, fully at home!
Starting out, you’ll need the right supplies.
The regular polishes that say they’re just like gel — they’re not even close. Push them right to the side and buy a UV Cured Gel Polish. Not only do you need the color, but you also need a UV Cured base and top coat.
These are widely available at beauty supply stores and also, my favorite place to purchase them from, Amazon. As a matter of fact, everything on this list can be bought at either one!
Second most important thing: a UV light. This is the little purple/blue looking thing you stick your hand in at the salon.
You can get a good one for pretty cheap. Mine came in a set from Sensationails I got in early high school, and it still works just fine.
The next thing was an item I was most hesitant about buying for so long, but when I did, my life completely changed: a nail drill.
This is the KEY to a long lasting mani. Like I said, it’s all in the prep. So, a rough base for the polishes to stick to is a necessity.
I never trusted myself. I really thought I would take off my whole nail bed with this thing.
Just be careful and watch what you’re doing. Trust me.
And last but not least, make sure you have some basic tools like a nail file, clippers, cuticle removers and rubbing alcohol on hand.
You may have the best luck purchasing all these items in a kit.
Before we get into the process, I just want to say I am in no way a professional, this is just what I found works for me. Take or leave what you please.
- Prep
-
Prep is absolutely EVERYTHING.
Once I realized this, I can finally say that I have perfected my routine. With the right prep, my nails last a minimum of 2 weeks.
Starting off with clean nails, I shape. I cut off what’s broken and shape with a nail file.
After my nails are shaped how I like, I will push back my cuticles and remove the overgrowth with a pair of cuticle clippers. This part is VITAL to getting your mani to last.
Next, I will get out my drill with my cuticle tip and remove the leftover cuticle on my nail bed. You’d never believe how much dead cuticle comes off my nails in this step. If you just put polish over this, it’ll start to lift from the bottom real fast.
Then, I change to a sanding band bit and on a low speed, go around my nail bed to roughen it up. This is what makes the biggest difference. Truly, I don’t think handfiling can do what a drill does here.
This is when I go in with rubbing alcohol over each nail bed. Ideally, 90% isopropyl alcohol to fully remove any oil.
- application
-
Now that the most important part is done, here comes the (subjectively) fun part!
I put down my base coat first. You want to leave some space between your cuticle and the edge of the primer so you don’t “flood” the cuticle, which will in turn make the nail prematurely lift.
I then cure this under the UV light for about 60 seconds.
And repeat that process with your color. I normally do two coats for an opaque gel color.
Lastly, repeat with a top coat.
After you complete your top coat, normally there is a moisture layer which is quite sticky. Rubbing alcohol will take it right away. Go over each nail once again.
And boom. My friends, that’s how I do my salon quality nails at home on a budget. Practice makes perfect, and this took me years to perfect.
Patience is a virtue. Have fun.


