Sometimes I get the urge to be creative, but I have a hard time finding simple things to do that both get my creative energy out and leave me with a somewhat visually appealing product. These are some of the quick and easy activities I have done to get my artistic fix without needing to have the skills of an artist.
- Make a Collage
-
Materials: magazines/books/newspapers, scissors, glue or glue stick, construction paper (or some other canvas)
Gather some old magazines, books, or newspapers, and you’re good to go! When my friends and I did this activity, we had to buy some magazines, which were surprisingly expensive for what we were going to do with them ($6-$14). I would recommend using recycled materials if you can. In terms of glue, glue sticks typically work better just because liquid glue will be messier and leave your picture looking bumpy when you glue it down. This activity is so easy and takes a good hour or two, which is a great opportunity to gather some friends and hangout through the process!
- Paint Simple Objects
-
Materials: paint, brushes, “simple object,” water in cup (for washing the brushes throughout)
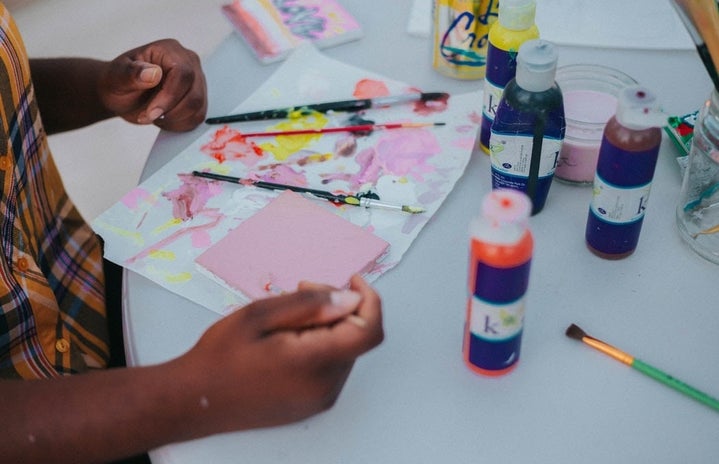
By “simple objects,” I mean something that is easy to paint or serves another purpose besides being your canvas. When my friend and I did this, we gathered pinecones on one of our hikes and painted those different colors. You could also paint things like a jewelry box, a picture frame, or a desk organizer—think Color Me Mine. All you need for this activity is some paint and some brushes. These materials can be a little expensive, but if you invest in them now, you can do this activity multiple times! This will also leave you with a nice finished product to show off.
- Tie Dye
-
This is one of the messier activities, but one that has the most satisfying finished product. You can get a simple tie dye kit for $9.99 at Target. You will also need a 100% cotton white t-shirt, disposable gloves, and rubber bands. The best place to do this is outside over a tarp. If you get a one-step tie dye kit, you will have to mix your dyes before beginning. There should be a fill line on the bottle, and then you can shake them until fully mixed. You should dampen your shirt (or whatever item you decide to tie-dye) before starting and bind it using the rubber bands. For the classic spiral tie dye t-shirt, twist the shirt into a spiral starting at the center and bind it in that shape. Once you apply the die, let it sit for 6-8 hours in a plastic bag or plastic wrap. Then, take it out and rinse for an amazing tie dye shirt!
I have tried all of these activities and had both a great time doing it and a nice-looking finished product. I hope these suggestions can help you get your creativity out, without feeling like you need to create a masterpiece.


