Self tanning is definitely a life line for many women when enduring the long winter months, especially here in Vermont. Whether you are trying to avoid going to the tanning bed or just need a little extra glow, self tanning is a must. However, if you don’t prepare and apply it correctly you will wake up to a host of problems, such as the dreaded orangey brown patches up and down your leg. Avoidng these complications involves a little preparation in order to reach that natural tan complexion we’re all striving for.
Here are some steps that every self-tan enthusiast should incorporate into their nightly routine:
1. Exfoliate your Skin.
I am currently OBSESSED with these exfoliating gloves! After trying these bad boys, my skin has never been softer. Start by jumping in the shower, put these gloves on, wet them, and apply whatever body cleanser or scrub that you normally use in a circular motion. Make sure to give some extra attention to those tougher areas of your skin, such as your knees, ankles, and elbows. Exfoliating your skin before applying self tan will help to remove dead skin cells and anything else in your skin that could cause an uneven tan.
2. Shave + Moisturize.
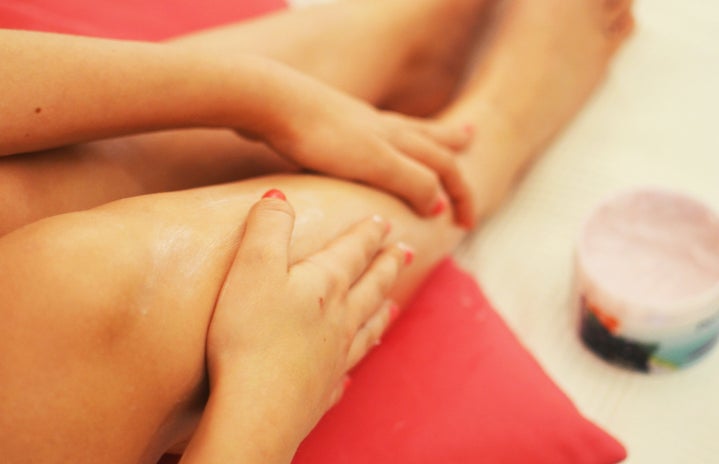
After you have exfoliated, I would recommend shaving if need be (never shave pre-exfoliation), then hop out and let your skin dry. Now it is time to give your skin some loving with whatever moisturizer you typically use. After my dermatologist recommended CeraVe I have been hooked on their moisturizing cream. The drier skin absorbs the self tanner more than other parts of your body so apply a small amount of lotion to only those areas. This in turn will help avoid those dark spots from appearing on your knees and around your ankle and elbows.
3. Apply the Self-Tanner.
Alright now that your skin is cleansed and prepped you have the perfect base and are ready to begin applying your self tan! One of the most challenging parts of self tanning is finding the right product. While I feel like I have tried all of the brands under the sun, there always seems to be something new around the corner. That being said, no matter which brand you are using, they typically all consist of needing two things: a self-tan mousse and an application mitt. After you release two pumps of tanner into the mitt, I advise starting at your ankle/foot and working your way up with small circular motions. Lastly, since there is so much excess tanner absorbed by the mitt, refrain from additional pumps when you apply it to your hands and feet. These are the areas where things often go wrong and can result in a speckled complexion, so resist the urge and walk away.
4. Put on Loose Fitting Clothing.
The self- tanner is now on, you’re feeling a tad sticky, something smells funny, but staring back into the mirror you know you’re one step closer to that bronzed glow! Let yourself air dry for a few minutes and then find some loose clothing to throw on. If you wear tight fitted items it can interfere with your tan and leave you with an array of unattractive lines. I also advise wearing long sleeves and bottoms to avoid any tanner seeping onto your sheets. Now go get that beauty rest and let the tanner do its magic.
5. Rinse off in the A.M.
8 hours later…
Okay, you could be in for an unanticipated surprise when you catch a glimpse of yourself… but most likely that won’t be the case and you should be staring back at a beautiful bronzed bod! Just like you started this process, head back into the shower to rinse off the excess tanner. When you get out, pat your entire body dry with a towel and then moisturize to let that hard earned tan set!
While it may not be as luxurious as sitting poolside, catching those rays, using self tanner is the best way to avoid tanning beds and the harmful UV rays. Try to follow these steps above gradually throughout the week and you will be ready for summer in no time!
Alex Rosenberger
Edited by: Emma Hoechner


