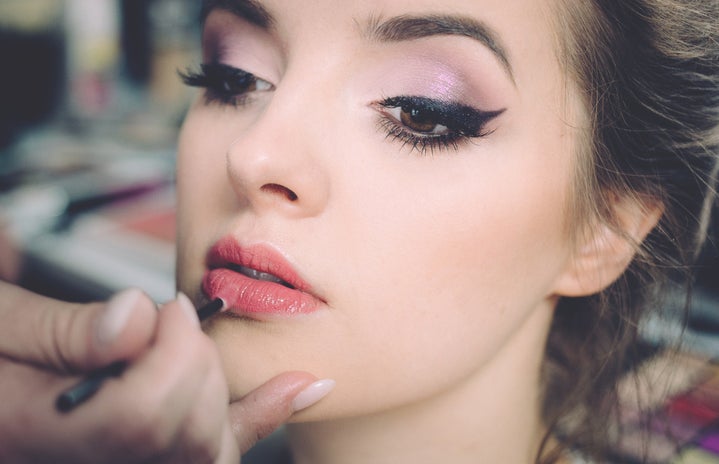
Ah, the highly coveted “no makeup” makeup look. You know what I’m talking about. It’s the “model walking down the street while the paparazzi just happens to show up” It’s the “I just rolled out of bed and put on mascara but I still look effortlessly glowy and beautiful.” Makeup? Never heard of her. If you haven’t figured out my dramatic introduction, the whole idea of “no makeup” makeup is to utilize makeup in a way where it’s basically untraceable. It’s the perfect everyday look for the coming summer or if you still have the motivation to actually look decent for class.
Step One: Base Preparation
Before you even start your makeup, you need to make sure that your base is ready. What’s going on beneath your makeup often dictates how it’s going to look. After your moisturizer has already absorbed into your skin (yes we’re using moisturizer all 2018 and forever), use a makeup primer (preferably moisturizing/illuminating, but if you have really oily skin please don’t do this). A couple primers that I like for this sort of look is the Becca Backlight Priming Filter and Mac Strobe Cream. What these do is serve as a base for your makeup while giving you an effortless (looking) glow.
Step Two: Eyebrows and Eyes
While your primer is sinking into your skin, it’s a good time-saving idea to move on to eyes. For brows, lightly fill them in where needed and apply a clear gel to make sure that they stay in place all day. The whole point of a “no makeup” makeup look is to look like you’re not wearing any makeup, so the eyes are going to be very simple. Usually, if I put any shadow on my eyes, it’s just bronzer applied in the crease as a sort of “eye contour”. After that, you should apply mascara. A tip I have is to apply more mascara to the outer corners of the eye to create a more feline-like appearance.
Step Three: Skin
Some people put on foundation for this look, but I prefer spot-concealing, as it is less traceable. Spot-concealing is placing a full coverage foundation or concealer only on problems areas such as blemishes, dark spots, & eye bags instead of applying foundation to the whole face. If you let the concealer sit on these problem areas for a couple minutes instead of immediately blending out, you’ll find that you achieve fuller coverage. I like to blend out my concealer using a Beauty Blender or a small brush such as the Morphe M428. The next step in a makeup routine would usually be to set your whole face with powder, but that’s not really necessary when you have significantly less product on your face. Instead, using a wet beauty sponge, pat (DON’T RUB) translucent powder onto parts of your face where you find yourself to get oily often. You can apply bronzer if you want, but I find that it makes me look too “made up”. Instead, I recommend you take a peach toned blush and apply it to the apples of your cheeks to make you look fresh and sunkissed.
Step Four: Finishing Touches
What you do with your lips just depends on your mood or personal preference. Sometimes I wear a lip gloss, and sometimes I tap a little bit of pink eyeshadow in the middle of my lips to add some color, and then just put some lip balm on top. The last, and arguably the most important step, is finishing spray. The one product that is crucial for this look is Mac Fix+ or something similar. It may just look like water, but I swear, no matter how bad or cakey my makeup looks, this spray will melt all the products and powders into my skin.
Whether you want to wear it to the beach or to your finals, it’s the perfect go-to look for any occasion or any season. And if anyone asks, yes that is definitely your natural skin.
Photo Credit: 1


