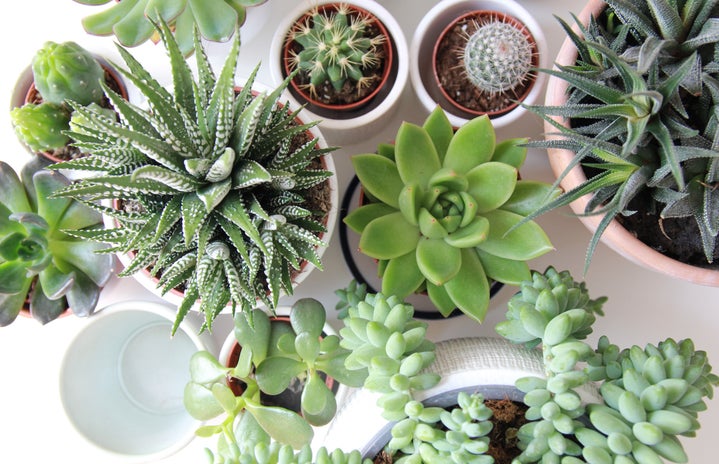
As winter is quickly emerging, the cold is beginning to make all things green in Southern Ontario turn to various shades of brown, black, grey and white. For some, this may mean a borderline unhealthy obsession with tea, coffee and baked goods. For others, this may mark the beginning of a budget solely reserved for succulents.
Odd? Yes, but listen… as Southern Ontario loses its colour, many of us may feel the need to reintroduce some colour into our lives. This means marching down to the nursery and purchasing succulents – lots of succulents – to feel like there is life indoors, as the outdoors turns hostile.
And look, we’ve all been there. Looking at all the plants and realizing that a succulent the size of your palm is fifteen dollars! Yet, you buy five anyway.
Suppose you find yourself to be one of these people who have a strange urge to drain your bank account to have more green in your life, then you have come to the right place. There is another way to make an indoor jungle without burning through cash: succulent propagation!
Now, what does propagating succulents mean? Well, it’s basically just a fancy way of breeding your existing succulents to make more plant babies. If this at all interests you, the following are the basic steps to make succulent babies!
Step 1: Take Cuttings from Your Pre-Existing Succulents
Start by removing leaves from your succulents. Make sure when you take the leaves that they are clean cuttings; this means they are taken as close to the stem as possible or else the cutting will die. With most succulents, the easiest way to do this is to grasp the leaf and twist lightly.
Step 2: Let the Cuttings Dry Out
Next, you need to take your succulent cuttings and lay them out on a tray lined with paper towels to dry out. Essentially, what happens when you remove a succulent leaf from its stem is that it is wounded and needs time to grow a callus around its wound so it can survive. This should take no more than a few days.
Step 3: Water Leaf Cuttings
After the calluses have formed, you need to line a tray with a light layer of succulent soil and lay the cuttings on top of the soil. Do not worry about the base of the leaf being in the soil, as it is not needed yet.
Once you have the tray prepared, then you need to fill a spray bottle with water and mist the cuttings each day or every other day for the next couple of weeks. Yes, it takes a long time, but it’s worth it!
Also, remember to put your cuttings in a sunny spot; succulents need lots of sun to grow!
Step 4: Plant Babies
After a couple of weeks, you will begin to see roots grow into the soil, and after a couple more weeks, your cuttings that have survived will start to grow buds. At this point, you now have baby plants! Once you feel that these buds need more soil and space to grow, you can transplant the baby succulents into their own pots and treat them as you would any other succulent.
Remember to use succulent or cactus soil to ensure proper draining. Also, ensure you’re keeping the propagated plant in a sunny spot.
Step 5: Watch them Grow
After a couple of months, your babies will grow into regular-sized succulents, and you have just created more plants to add to your at-home jungle without paying an absurd amount of money. Also, if you find you have grown too many plants, succulents make great Christmas and birthday presents!
Hopefully, you learned a thing or two about propagating plants! Although it takes a long time, it’s a foolproof process and extremely rewarding. Just do your research, put in a bit of time and you’ll have an even larger at-home jungle to bring you joy this winter!


